

The holiday season seems to be flying by so fast. I can't believe we are already half way through December! Now that I am finally done with all three of my holiday concerts, with two of them on the same day (yikes that was a long day!), I can finally focus on my holiday baking!
Wait, I have less than two weeks before we celebrate Christmas?! And I still have to wrap all the presents?! Somehow I always end up wrapping nearly all of the presents--even my own…Well, I helped my mom purchase the presents too. (She's technologically savvy and yet I still end up doing the "finger work" of the online purchases.) I haven't had a whole lot of surprises under the tree for many years but at least I know I get what I want!
 |
| Put your truffles in a pretty box with cellophane, add in some nice tea or coffee and give it as a gift this holiday season. |
Back to the baking. (One thing at a time, Adrienne!) There is nothing I love more during the holidays than my own, homemade chocolate truffles. The flavor possibilities are endless! They are super easy to make, just be sure you set aside a whole day to make them as it can be a little time consuming. But the results are beautiful enough to give as a holiday gift and just as delicious as they are pretty.
All you need for this recipe is heavy cream, milk chocolate chips, semi-sweet chocolate chips, toothpicks, a double boiler or heat-proof bowl, crisco or household wax (I'll explain this, don't worry!), liqueur or candy flavoring, white chocolate baking bars or chips and a piping bag.
 |
| Don't these look delightful? And you know they are handmade from the slightly irregular shape and imperfect white chocolate decoration. |
Start by placing the milk chocolate chips and the heavy cream in a saucepan on low heat, stirring until melted. Remove your chocolate mixture from the heat and pour into a mixing bowl. This is the fun part--add your flavoring! Here are some ideas to get you started:
- Bailey's (there is a variety of Bailey's flavors besides the original Irish Creme, from vanilla-cinnamon to hazelnut)
- Khaluah or strong brewed coffee
- Fruit flavors such as raspberry, orange, pomegranate, apricot and cherry (use candy flavorings, essential oils or a juice like Pom)
- Amaretto (decorate with little slices of almonds)
- Coconut (try replacing a small amount of the creme with coconut cream and decorating with shredded coconut flakes)
- Guinness
- Mint
- Cardamon
- Lavandar (if you are feeling adventurous!)
Don't be afraid to try new flavor combos. Just make sure you don't add too much liquid flavoring to your mixture--you don't want it so soft that you can't roll it into balls.
 |
| Milk chocolate centers enrobed by semisweet chocolate and decorated with white chocolate, nuts, candies--whatever you want! |
Once you have added your flavoring, use your stand mixer or hand mixer with a whisk attachment and blend for about 30 seconds. Just to make sure you get the flavoring well-incorporated. The mixture should be nice and smooth.
Pour your truffle mixture into a small bowl and cover with plastic wrap and refrigerate for about 30 minutes or until firm. Like me, you can make this mixture several days ahead of the rolling and dipping process. Just leave it in the fridge until you are ready. When you are, let the mixture sit out on your counter until it is soft enough to roll into balls.

You'll want to get your dipping chocolate melted and ready to go. Usually a bag of semi-sweet is more than enough to cover 1 batch of truffles. If you don't have a double boiler, make one by finding a heat proof bowl that will fit into a saucepan but doesn't touch the bottom of it. You want there to be enough room for water and a bit of air in-between--the hot steam is what melts your dipping chocolate. Pour enough water into your saucepan to fill the bottom and place the top of your double boiler or your bowl over it. Pour in your semi-sweet chocolate and put it on low heat.
To temper the chocolate, you will want to add a bit of Crisco or household wax. I prefer wax--I know this sounds weird or yucky, but the wax won't change the flavor of your truffles and it gives them a nice shiny and smooth finish. I use a vegetable peeler and slowly add shavings to the chocolate. You want your melted chocolate to drizzle off your spoon, not plop off of it back into your bowl. *If you have a local bakery supply store, they might carry paraffin baking wax made especially for tempering chocolate, though I find the household wax works just as well, if not better.*


Next, cover a cookie sheet with parchment or wax paper and begin rolling your truffle mixture into balls. The size depends on your preference. I find that I like a smaller size because these truffles are very rich and I get more individual truffles out of 1 recipe (in the hopes that they last longer…I'm looking at you, fellow chocolate monsters in my family…oh wait, that's just me and my Oma and since my Oma is 95, she gets a pass). Once I'm done rolling the mixture into balls, I pop the cookie sheet into the freezer for several minutes. If your truffles are too warm, they will fall into your dipping chocolate and contaminate your dipping chocolate with whatever flavor you were dipping!
Once the truffle balls are firm, I place toothpicks into them for dipping. You can use a fork if you like, but using toothpicks makes them come out much cleaner and with less chocolate on them. Don't poke the toothpick too far in--just enough to hold the truffle ball firmly.
Dip your truffle ball into the melted semi-sweet chocolate, tapping the toothpick on the side of your bowl to help the excess chocolate drip off. Place the truffle onto your cookie sheet. Once, I'm several truffles into dipping, the first ones are usually firmed up enough to take the toothpick out. Just give a little twist and discard the used toothpicks. (I've tried reusing them but I either get my fingers sticky with chocolate left on the toothpicks or they don't come off as cleanly as unused toothpicks.) Be sure to not leave the toothpicks in the dipped truffles for too long, if you do, use a fork to push down on the truffle while pulling up on the toothpick--using your fingers may melt the truffle again.
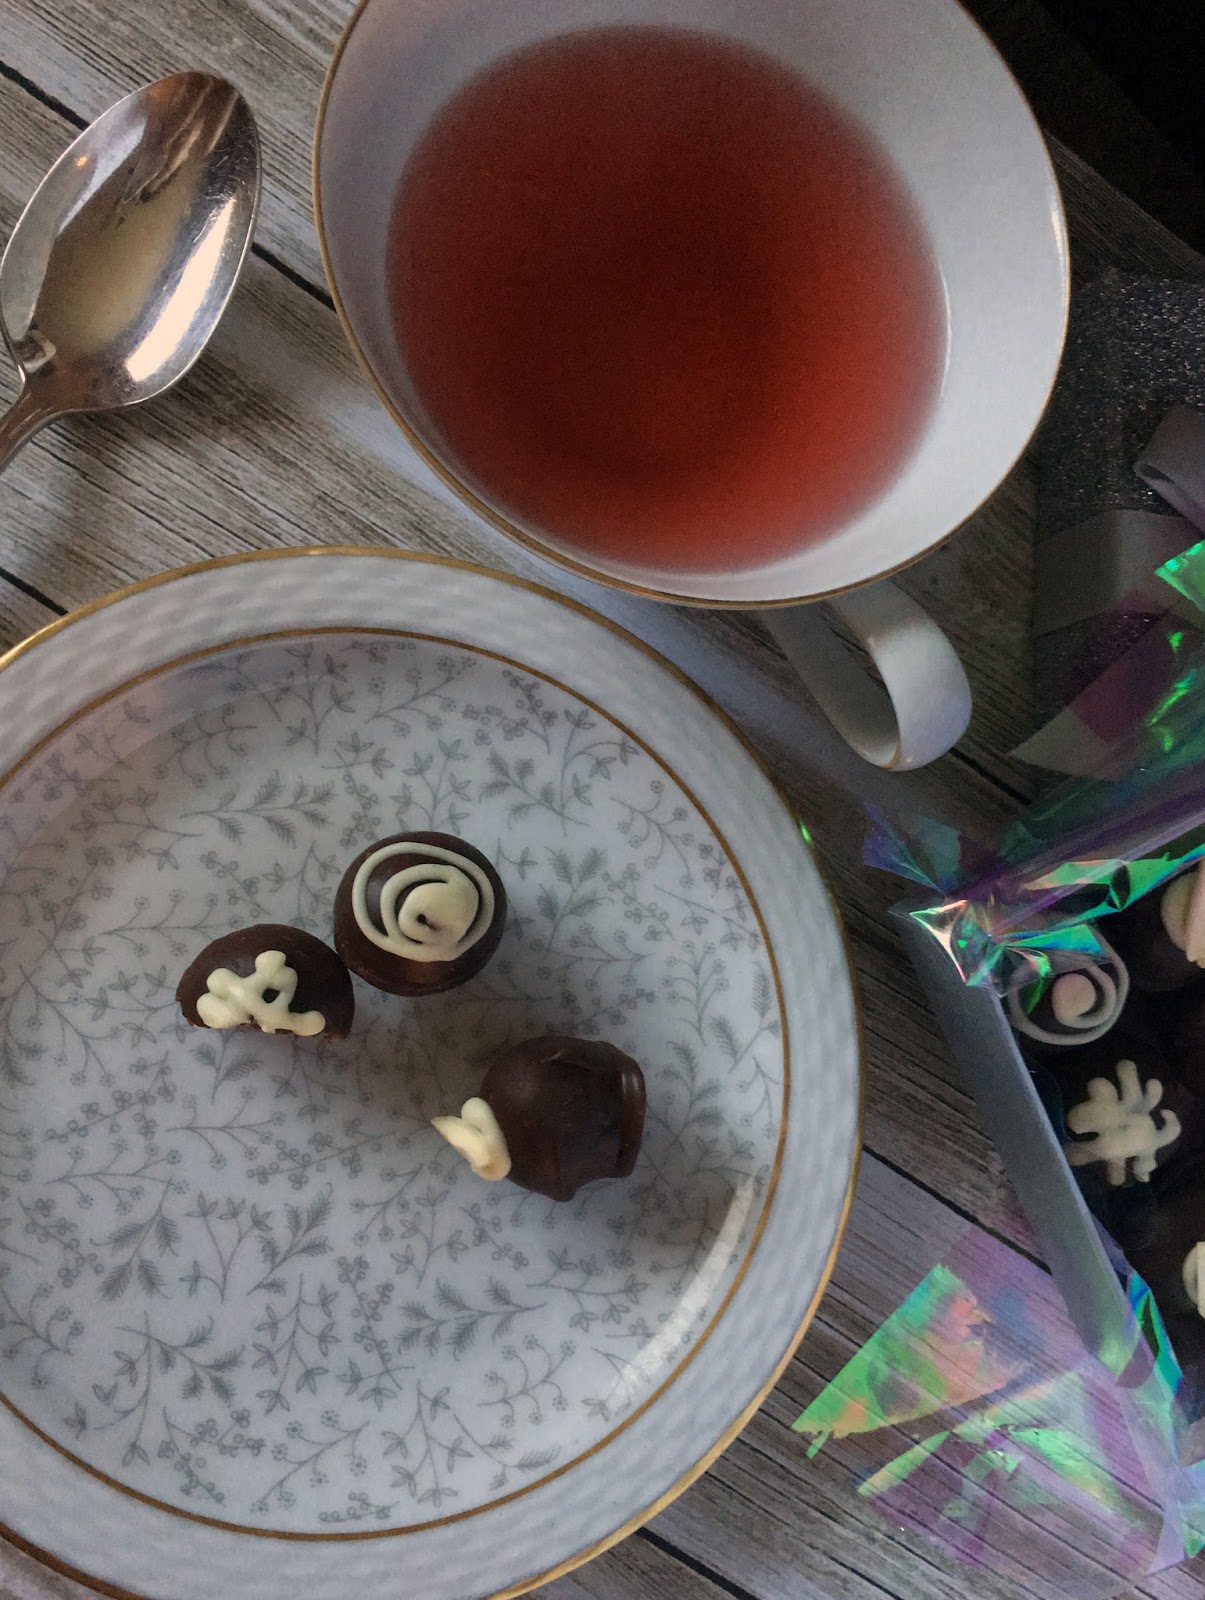
 |
| Truffles and tea or coffee--the perfect mid-day holiday pick-me-up! |
During the dipping process I'm not opposed to "accidentally" messing up a truffle or two. I have to have some to taste test to make sure they turned out okay, right? I also return my un-dipped and dipped truffles to the freezer every once in a while to keep them from getting too soft. Once you are done dipping a full batch, return them to the freezer until the chocolate shell has hardened.
In a heat proof bowl, melt 4 bars of baker's white chocolate. Thirty seconds in the microwave should do the trick. You want the bowl to get warm and the chocolate to soften a bit. Stir the chocolate vigorously until it's fully melted. If you need to, microwave it up to two more times at 5 seconds each. Any more time in the micro and your chocolate will no longer be tempered. Again, it should be smooth and drizzly, not ploppy. If it plops back into your bowl, throw it out and start over because you have successfully burned your chocolate. Spoon your melted white chocolate into a piping bag with a small round tip or a zippered plastic bag with a small tip cut off. Drizzle or pipe a design onto the top of the truffles. This will hide that toothpick hole! I like to design mine based on the flavor so people know what they are getting. I mostly do this because of my Oma--her favorite is coffee flavored and she wanted to be able to pick them out so I obliged.
If you want to add something other than white chocolate, like coconut flakes, be sure to add them before your dipped truffles get too hard. Or you can drizzle on white chocolate and add the coconut flakes. You can also use a dot of white chocolate to adhere a slice of almond to amaretto flavored truffles or a red hot to vanilla-cinnamon flavored truffles. Want to get super fancy? Brush on some edible gold dust!
 |
| Put your truffles in a pretty box with cellophane, add in some nice tea or coffee and give it as a gift this holiday season. |
The possibilities are endless! Not to mention these truffles look absolutely delightful in a decorative tin or box--the perfect gift for the chocolate lover or the person who is hard to buy for. Because, seriously, who doesn't love chocolate?!
Be sure to store these in a cool and dry place--melted truffles are yucky and temperature changes make the chocolate taste funny. You can even keep them in the fridge if you like and then let them soften on the counter for about 10 minutes before serving.
This year I was invited to Bake Day by my friend DeLyn. A whole group of friends get together and spend the whole day baking holiday goodies! Each person brings a recipe they want to make, so of course I chose my truffles. I pre made 2 milk chocolate mixtures so all I would have to do would be to roll, dip and decorate my truffles. I made raspberry and vanilla-cinnamon to share with everyone. At the end of bake day, everyone gets to take home a bit of each treat made that day. And we made a lot of goodies that day! I only took home a few of my own truffles so that everyone else could take more of them. I knew I would be making more at home later.
For the holidays, I make between 2 and 4 batches of truffles. If I'm pressed for time, sometimes I divide the melted milk chocolate mixture in half before flavoring, so I get two flavors out of one recipe. The two to three batches made about two weeks before Christmas usually lasts my family through New Year's.
Enjoy!
Adrienne
Yum

Prep time: 5 minutes
Cook time: 10 minutes
Total time: 1-2 hours
Yield: 20-40 pieces
Ingredients
For the holidays, I make between 2 and 4 batches of truffles. If I'm pressed for time, sometimes I divide the melted milk chocolate mixture in half before flavoring, so I get two flavors out of one recipe. The two to three batches made about two weeks before Christmas usually lasts my family through New Year's.
Enjoy!
Adrienne
Yum
Easy Chocolate Truffles
Prep time: 5 minutes
Cook time: 10 minutes
Total time: 1-2 hours
Yield: 20-40 pieces
Ingredients
- One 11.5 oz pkg. milk chocolate pieces
- 1/3 cup heavy whipping cream
- 1/2 teaspoon flavoring (such as candy flavoring, extract or liquor)
- 8 oz. white chocolate
- 1/2 cup semisweet chocolate pieces
- Crisco or household canning wax/paraffin to temper chocolate
- optional: candies, nuts, edible gold dusting, etc. for decoration
- 20+ toothpicks
- Combine milk chocolate pieces and heavy whipping cream in a heavy saucepan, cooking on low 4-5 minutes or just until the chocolate melts, stirring frequently.
- Remove from heat, cooling slightly. Add flavoring of choice.
- Beat mixture with an electric mixer on low till smooth.
- Cover and refrigerate 1 hour till firm. If you refrigerate longer, let the chocolate mixture soften on the counter for about 5-10 minutes until pliable enough to spoon out.
- Line baking sheet with waxed paper. Roll chocolate mixture into quarter-sized balls or smaller (I do about nickle-sized because the truffles are so rich) and place on covered baking sheet.
- Insert wooden toothpicks into each truffle--not too far! Just enough to hold it firmly while dipping so it doesn't fall back into your melted dipping chocolate. You can skip this step if you choose to use a fork for the dipping process.
- Place the baking sheet of truffles into the freezer for about 5-10 minutes. Don't leave them in too long or your dipping chocolate may crack off your truffle later on. We just want to quickly firm these back up before dipping. Or, if you have some other things you need to get done while waiting, you can place the truffles back into the fridge for about a half hour.
- In a double boiler, melt your semisweet chocolate pieces. Once melted, add small amounts of crisco or wax to the melted chocolate to temper it. You know it's ready for dipping when you lift your spoon or spatula out of the pot covered in chocolate and it runs off of it easily in ribbons (no plopping!).
- Take your truffles out of the freezer or fridge and begin dipping one truffle at a time, letting the excess drip off.
- Once the truffles have firmed up a bit, take the toothpicks out by slowly and gently twisting it up and out. Just keep checking them to see if they are ready. You can always re-dip or just dip the bottom of the truffle into the chocolate mixture if you waited too long to take the toothpick out--or use a fork to push down on the truffle while pulling up on the toothpick. Discard used toothpicks.
- After dipping, place the truffles back into the fridge for about 10-15 minutes just to help harden them up.
- In a microwave safe bowl or Pyrex measuring cup, microwave your white chocolate for about 20-30 seconds. Remove and stir vigorously until all the chocolate melts. Heat for an additional 5 seconds if needed.
- Spoon or pour white chocolate into a piping bag with small tip or a plastic sandwich bag with the tip cut off.
- Remove truffles from fridge and pipe designs onto them using the white chocolate. Add candies, nuts, etc. to a dot of white chocolate before it hardens.
- Store in a pretty box or airtight container in a cool and dry location or in the fridge.


0 comments