DIY Coal Christmas Card with Alice Scraps Wonderland

by - 5:00 AM

It's time for a little stencil embossing magic! 


Stencils combined with domed foam blenders are great, but did you know that you can also emboss with stencils in your die cutting machine? And I've got examples of each below! The white background card was stenciled and the black background card was embossed.


I picked up the new Nordic Sweater stencil from Scrapbook.com because it reminded me of a sweater that my Oma (grandmother) crocheted for me when I was a kid. I had a Samantha American Girl doll but my mom and I loved the black and white Nordic sweater that was part of the Kirsten collection . 


There was even a matching sweater and hat set you could buy for you and your doll! But it was way to expensive for my mom so my Oma made her own patterns for hats and sweaters for me and my doll and crocheted them as a Christmas gift.


I was so thrilled with the sweater and it was even more special because she made it. I still have it, my doll's outfit and my doll (who has the original white body instead of the tan cloth body) in my keepsake bins. But now on to why you are probably actually here--learning how to emboss with a stencil! 


To do the embossed card, I just swiped on Distress Ink in black soot--make sure that you are gentle when doing this so you don't accidentally bend your stencil.


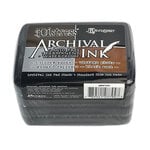
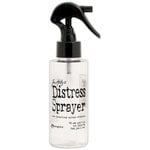
Next, spritz the stencil with water and then place it inked side down on your paper. Run it through your die cut machine and it will come out all inky and have a slight embossed feel to it! It shouldn't be too damp, but let your card dry while you die cut some of the new Stitched Borders from some black cardstock and stamp out a sentiment with Archival Ink in black soot. 

Christmas Card made with: Tim Holtz distress ink in black soot; Scrapbook.com sassy Christmas stamps, nordic sweater slimline stencil, stitched border dies

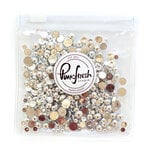
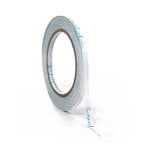
Adhere your embossed background to your card base and the border dies with some 1/4 inch adhesive. Then pop your sentiment on with some foam adhesive. For a bit of sparkle, add two metallic silver pearls and you're done. It's so cute I can hardly contain my joy! Until next time, happy crafting!
Adrienne

Shop the Supplies:


ReplicaSurfaces

Love the background I shot my photos on? It's from Replica Surfaces, a company that makes rigid photo-realistic backgrounds. This surface is called Limited Edition Holiday Edition Cranberry. This surface is currently sold out but you can pick up a bunch from their regular catalog (my favorite is Shiplap) with a 15% discount by shopping this link. When you do, I get a small commission from the sale at no extra cost to you, which helps me continue to provide you amazing tutorials and information, just like this blog post!


Scrapbook.com

I am an affiliate with Scrapbook.com. When you shop the links below, I receive a small commission from the affiliate, at no additional cost to you. This helps me balance the costs of the time and love I put into my projects and blog so I can continue to share my ideas with you for FREE. If you shop the links, thank you! I greatly appreciate it.


Below are products that I used or similar products.


You May Also Like

0 comments